Introduction to optimized Angular codebase setup
An introduction to the opinionated guide for well structured applications using Bootstrap, SCSS and Angular Material.

After working with Angular for several years across multiple applications, I am finally in a position to present an Angular architecture that has worked smoothly for me. It leverages the best of the front-end worlds — Material Design, Bootstrap, SCSS and Angular Material and few other conventions that help in optimizing the same.
In this guide spread across four parts (links included at the end of this article), we will see in detail how all the parts come together and get the job done.
Note: I do not use Redux in Angular as I find it to be an overkill and having a lot of boiler-plate code for simple applications. Instead a simpler hierarchical service/store structure has been devised for abstraction. However, for more complex applications you can always use Redux if you want/need to.
TL;DR
- Bootstrap CSS library grid and utilities for structuring the user interface design.
- Angular Material for leveraging available Material Design styled elements. For designing the rest of the application elements, Material guidelines are to be followed.
- SCSS for writing the CSS styles because it makes writing styles a lot easier.
- Codebase structured according to separation of concerns and certain conventions detailed in this guide.
Prerequisites
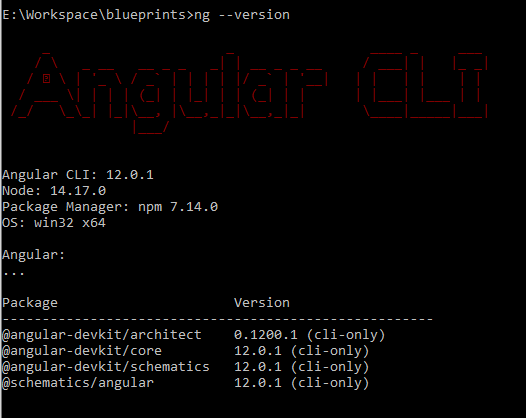
We will get Node and Angular CLI installed as per the official Angular guide. After installation, ng --version should give us the details of the Node, npm and Angular versions.

Sample Application Outline
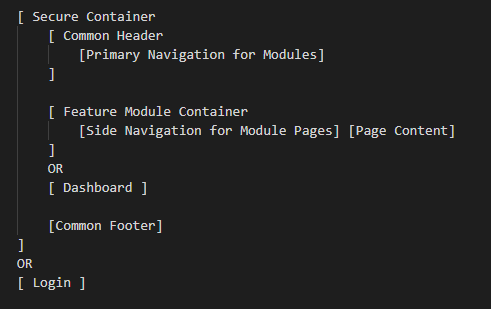
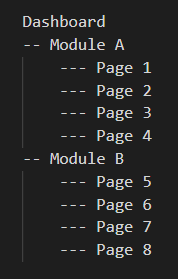
Let us consider that the application has two sections — one non-secure section having only the login page and the other, the secured section, which has a common header-footer and module-specific side navigation bars. There can be an optional dashboard page for keeping a provision for pages in the secured section that do not belong to any particular module.


Naming Conventions
We will be following the below naming conventions for our application (s)—
Next Steps
With the initial setup ready, we can now proceed with the following tasks chronologically —
Part 1 — Angular Component and Routing Setup
Part 2 — Styling Framework Setup
Part 3 — Including Angular Material
Part 4 — Service/ API Integration
P.S. You can refer to my Git repo for all the code and the latest updates on the sample application.
Working Example
You can visit https://angular.owrrpon.dev/ for the working sample Angular application that follows the optimized codebase setup outlined in the above guide.
